Tangible vs Intangible Products: How We Adapt Our 3D Animation Workflow
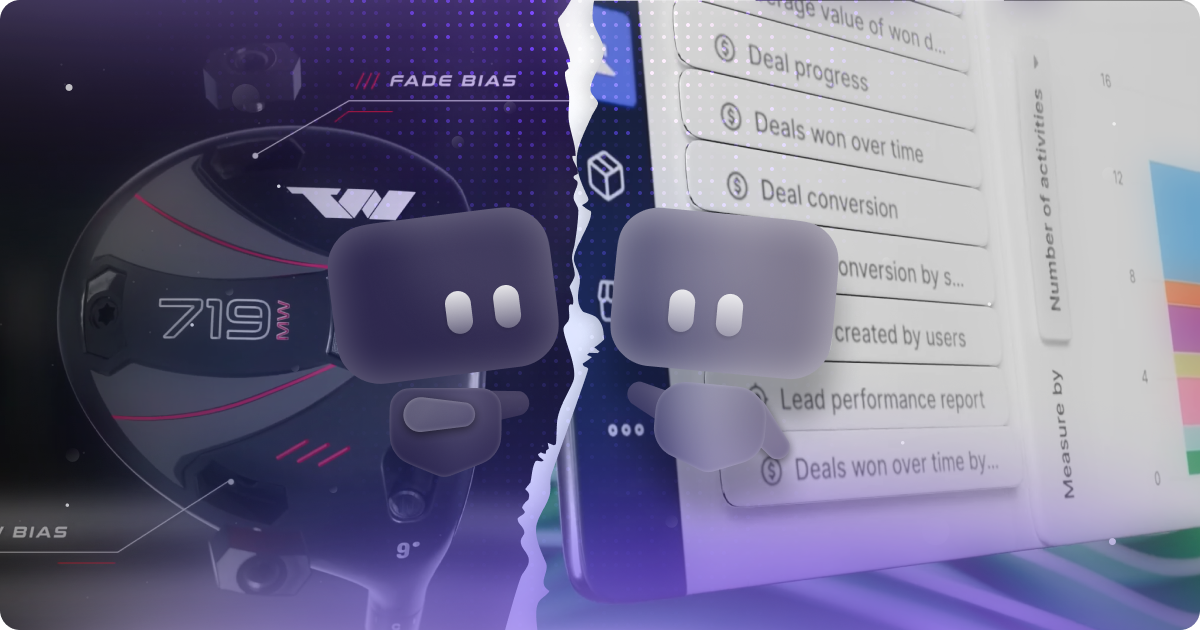
table of content
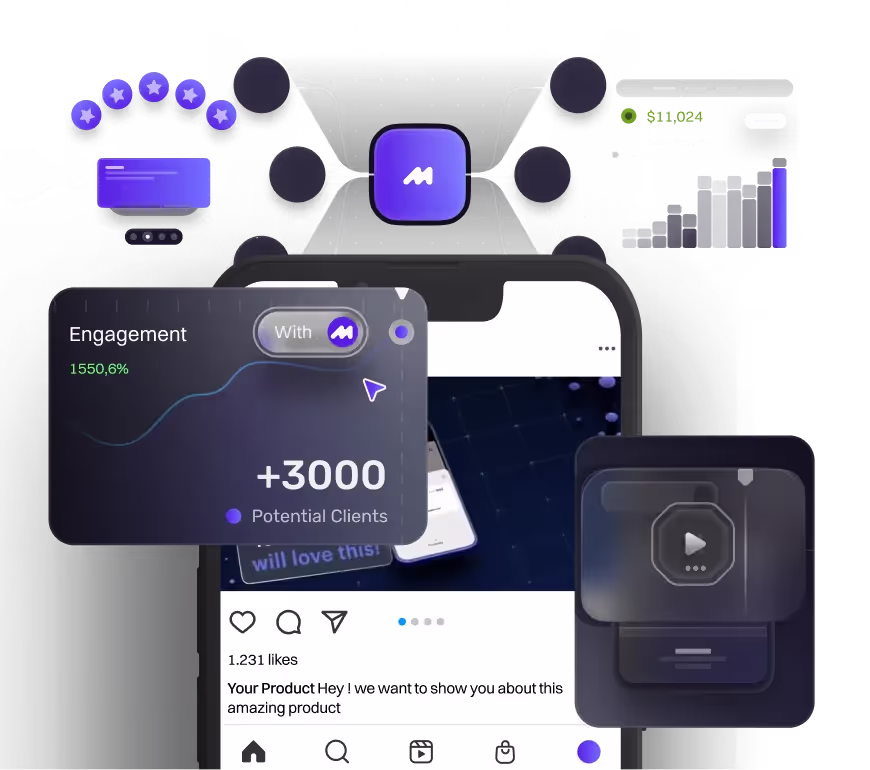
Alright, let’s talk product videos. If you’ve explored our portfolio or other content, you might notice something: most of our clients come from IT and SaaS, but we actually work across a wide range of industries.
When it comes to 3D product animation, every project has its own rhythm. We always say each project needs something unique. The workflow stays consistent, but our creative approach depends heavily on the client’s product.
We categorize products as tangible or intangible—it’s not universal terminology, but it helps us and our clients frame the project. In this blog, we’re diving into how we tackle each type. If you’re curious about the technical side, check out “How 3D Product Animation Can Help You Stand Out from the Competition.”
We’ll break down the process step by step and share real examples, with a spotlight on tangible product videos, which usually require more specific considerations. And yes, 3D product animation is front and center throughout.
So, What is "Tangible Product"?
Before we jump in, quick heads up: when we say tangible and intangible product, that’s just our internal shorthand for clients. Other agencies might call it something different, but the idea is the same.
A tangible product is something you can physically touch, hold, or interact with. Not just digitally—these products have a real, physical presence. They take up space, can be stored, shipped, or resold, and their value often comes from material quality, design, and function.
Examples of tangible products:
- Smartphones or laptops
- Furniture like sofas or desks
- Cars, bikes, home appliances
- Clothes, shoes, or accessories
This is exactly where 3D product animation comes into play. With tangible product videos, we can highlight key features, show how a product works, and demonstrate real-life interaction—all in a way live-action or 2D just can’t match. It’s about making the complex simple, the small details clear, and the whole product feel tangible on screen.
As we’ve shared in our 3D Animation for Product Videos: Types, Techniques, and Real Examples blog, this approach helps every physical product video we create look polished, impactful, and easy for viewers to understand—exactly the kind of storytelling that drives engagement.
And, What is "Intangible Product"?
Now, let’s talk about intangible products. At its core, an intangible product delivers value without a physical form. This usually comes as services, experiences, or digital goods. As an agency, we actually fall into this category—our product is design and creative services. We create creative outputs for clients, so what we sell is the service. Even if someone says, “Nah, you’re selling a video,” it’s still an intangible product because you can’t physically touch the video or interact with it directly without a digital medium.
This ties back to the tangible product definition. You still need to interact with the product to use it, but here it isn’t in a physical form. An intangible product could be a service; even if you interact with something during the service, you’re really engaging with a medium that delivers value. You’re buying time, expertise, or access—not a physical thing.
For these projects, we often incorporate 3D product animation to bring SaaS platforms or digital services to life. Using UI motion, icon animation, and creative transitions, we can visually communicate complex features, highlight workflows, and make the product experience intuitive—even if it isn’t tangible.
Examples of intangible products:
- Streaming subscriptions (like Netflix, Spotify)
- Software as a Service (SaaS) (like Notion, Figma, or Slack)
- Consulting or coaching services
- Online courses or digital downloads
- Insurance, legal advice, or financial planning
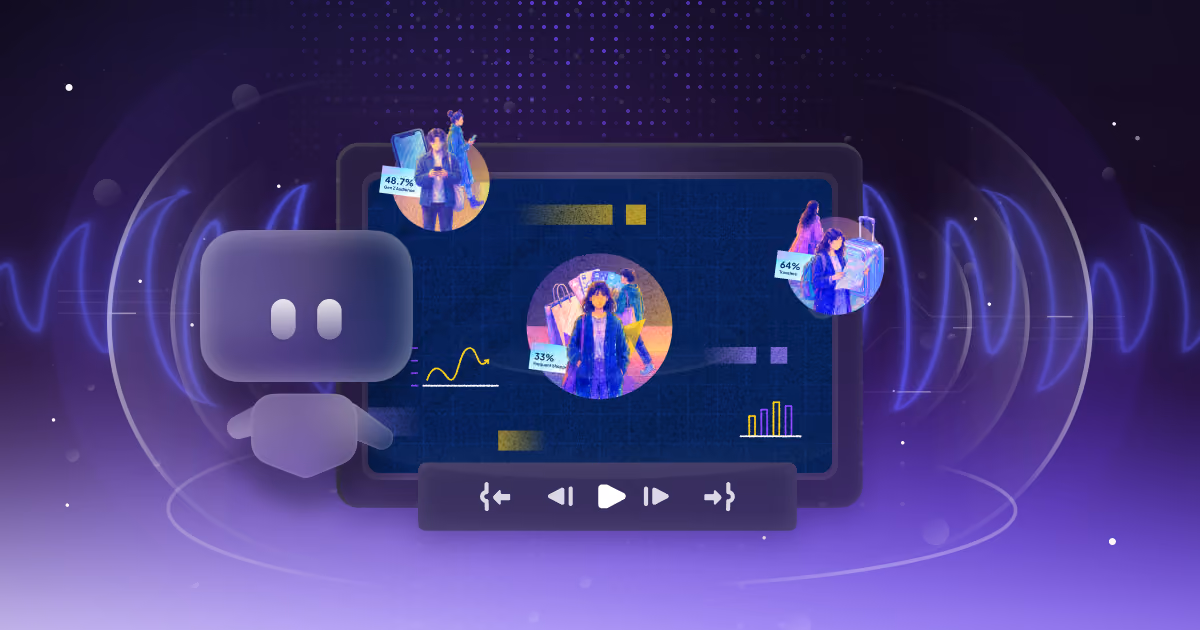
Video Example of Tangible Product
When it comes to tangible products, our main goal is to make their physical features, design, and functionality easy to see and understand. Every tangible product video we create is built to highlight the things that really matter.
Depending on the product, that might mean showing internal mechanisms, key materials, or how it works in real life. That’s where a 3D product video really shines—it lets us do things that would be nearly impossible in live-action, like cutaway views, exploded renders, or transparent overlays that reveal what’s happening inside.
For example, in one of our projects we used an exploded view, but only “blew up” the parts we wanted to highlight. This approach works perfectly for products with lots of small features. Trying this in live-action would be tricky, and 2D animation alone wouldn’t give the same clarity.
Over the years, we’ve worked on tons of tangible product videos, and through that experience, we’ve learned how to use stylized lighting, smooth camera movement, and hyper-realistic modeling to make each product pop. The result? 3D product videos that are clear, visually striking, and easy for viewers to understand.
Video Example of Intangible Product
Honestly, stylized UI animation for SaaS companies is our bread and butter, and we’re really proud of it. One of our recent projects for Pipedrive combined 3D product animation with UI motion to create a product video that not only showcases their interface but also demonstrates our creative approach.
Showcasing a product without a physical form—like a service—in 3D isn’t always straightforward. Most of our clients in this space are SaaS companies, which gives us a major visual advantage: the UI.
Our approach is to utilize the client’s existing UI design as much as possible to show how the product works. For example, around timestamp 0:17, you can see how we turn complex data into clean visuals and demonstrate customization through simple, intuitive animations. UI motion lets us show how the platform functions, how users interact with it, and what value it delivers—all through smooth, clean 3D product animation.
What makes intangible products unique is that they rarely have a set animation style like tangible products. Unlike tangible ones, you won’t see exploded views or photorealistic renders. Instead, we focus on UI walkthroughs, icon animations, typographic rhythm, and clever transitions to make the experience engaging and clear.
3D Animation Explainer Video Production
You might be wondering why it even matters whether a product is tangible or intangible. It matters because the marketing angle changes, and the production process needs to match that shift. A 3D explainer only works when the visuals are built from the right source, and that depends entirely on the type of product you have.
For intangible products videos like SaaS platforms or AI tools, we usually build the entire explainer around your UI design. Screens, flows, and dashboard elements become the backbone of the story because they help make complex ideas feel simple and visual. Without those assets, it becomes harder to communicate how your digital product actually works.
For tangible products videos, the workflow is completely different. We usually ask for CAD files or detailed 3D references so we can rebuild the product with accuracy and show real materials, textures, and mechanical movement. Both paths lead to a strong explainer video, but the way we craft it and the assets we need from you will look very different. To show how this plays out in real projects, we will break down two past case studies next.
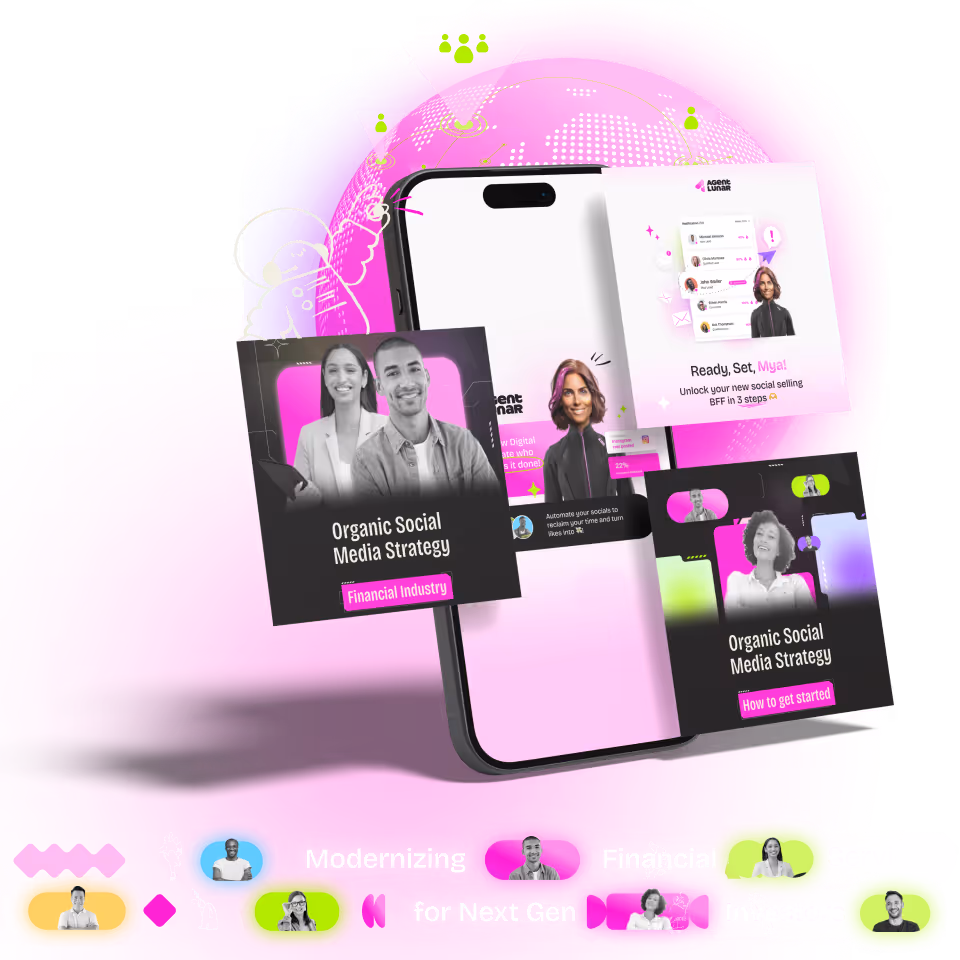
Pipedrive Case Study
For this section, we’re shining a spotlight on an intangible product. If you’re looking for tips on showcasing physical products, we’ve already covered that in our **3D Animation vs VFX blog.** But when it comes to digital services, especially in the SaaS and IT world, things can get a bit trickier.
One thing we’ve noticed is that even though most of our clients come from tech backgrounds, many still struggle to promote their products without just relying on plain screen recordings. And that’s exactly where creative motion design comes in.
In the Pipedrive project, we worked closely with the team to turn complex features into something intuitive and clear.
Color Coordinated Storyboard
.png)
The one thing that was very important for us during this project was being able to coordinate well with our team members on which parts of the 3D product video would use which tools and animation types. This was due to the complexity of the video, which combined both 3D and 2D elements, meaning we had to use all the tools at our disposal. We actually started to color-coordinate our storyboard to make it easier for both our 3D animator and 2D animator to know exactly which parts they were working on.
Cinema 4D and Blender
.png)
One thing we’re really proud of is that our workflow just works. We know what works and what doesn’t. This isn’t about the planning or ideation phase, which we always tailor to client needs. We’re talking about the production workflow, and we don’t mess around with that.
For the Pipedrive project, once the storyboard was locked, the two animators assigned to the project preferred different tools: Blender and Cinema 4D. We agreed it was best to let each animator use the software they were most comfortable with, especially given the level of detail required for a high-quality 3D product video.
.png)
To make this possible, we added an extra step by exporting working files as FBX or OBJ. Most of the files we transferred were geometry, materials, and animation, which are relatively easy to manage. But we had to be extra careful with rigs and controllers to ensure everything transferred correctly, keeping the production of the 3D product video smooth and precise.
Object Mode For Quality Control
We actually do this for almost every 3D animation client we’ve had. It’s an easy way for us to make sure everything we’re doing meets our own standards, without spending too much time on multiple renders in case there are details that need to be revised.
Our animators tend to provide a small example of the completed end result while leaving the rest in object mode. The project manager then reviews everything and gives the “okay.” Once the team gets this approval, they can move on to the next steps.
Post-Production and Final Touch
Once everything has been approved and completed, animators usually move on to the post-production stage, where they focus on stitching everything into a cohesive video that’s ready to be published.
The video we attached above is one of the steps during post-production. We call this compositing, where we combine the render results and add effects, color correction, typography, and transition elements. In this case, we added a slow, smoke-like effect at the bottom of the boxes to enhance the visual.
After compositing, there are two more steps in the post-production process:
- Video Editing & Sound Design: Assembling the final shots, syncing the audio, and creating a smooth, visually pleasing pacing.
- Export: Exporting the final result in the format required by the client (MP4, MOV, ProRes, PNG sequence, etc).
Wishon Golf Case Study: Tangible Product
Now that we’ve covered intangible products and how our workflow adapts to them, let’s talk about tangible products. At its core, our process stays pretty much the same across projects. While there are always small tweaks based on the client’s needs, the foundation doesn’t change much.
Alright, now that we’ve talked about intangible products and how our workflow fits around them, let’s get into tangible product videos. Honestly, our process doesn’t change much from project to project. Sure, we tweak things here and there depending on what the client needs, but the core stays the same.
What really shifts is the prep and ideation process. That part’s always custom. Once we’ve nailed the plan, the rest moves like clockwork. So in this section, we’re just gonna focus on what’s different in the planning, the rest is pretty similar to what we did for the Pipedrive case study.
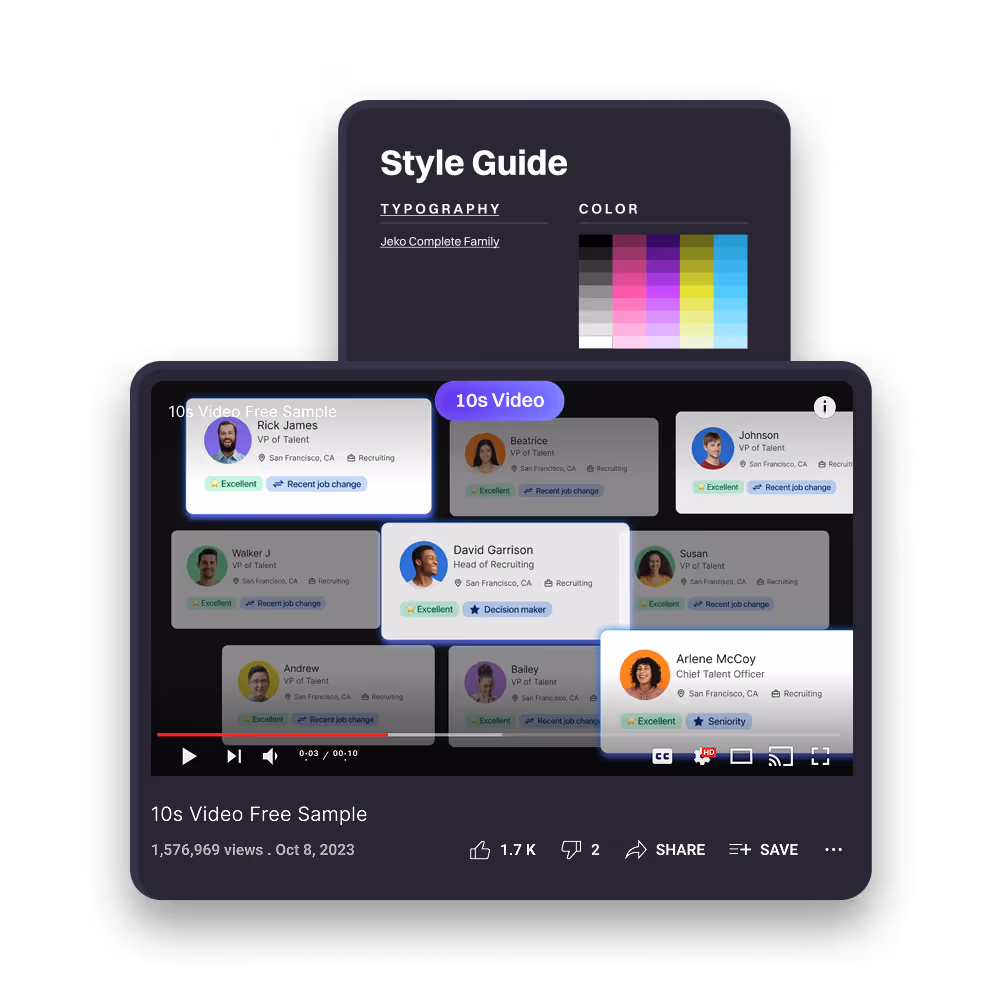
Detailed and Precise Storyboard
.png)
One key difference between storyboards for tangible and intangible products videos are the direction. Take a look at the three panels we’re showing here, then compare them to the ones from the Pipedrive project. See anything different? If you said the visual direction of movement, you’re absolutely right.
For intangible products, we mostly use UI designs or abstract visuals that represent the product. These usually have one clear way to present them. To make the message clear, we just show it from the front, facing the audience. That’s often enough to get the point across.
But that is not the case with tangible products video, especially in 3D animation. In order to showcase everything it is important to show that product and how it works in multiple angle and movements. Why it is important for our storyboard artist to plan this, so the animator knows which side they're showing and what happened when we are showing them.
CAD Files and How We Use Them
Another thing that we need to pay attention to while we are planning for a video for tangible product is that the assets needed for us to even start. For intangible product all we need is their basic UI design or content and we can utilized that right away, especially if the client give us the vector version of the assets. But for tangible product, especially product that has intricate feature details that might not right away notice able with eyes needs more than just a UI design.
.png)
Now, some of you might be wondering, what are CAD files? CAD itself means Computer-Aided Design. It usually stores geometric data, material properties, and other information relevant to the design, from resources that include even the internal components. The CAD file itself tends to be vector-based, and that is why, for products like this, we can take them apart and show what is inside, or attach to it so we can animate it in the video, just like the example at the bottom.
Exploded View Technique
.png)
We actually talk about this a bit more in our blog “3D Animation for Product Videos: Types, Techniques, and Real Examples”. There are certain techniques and video types that work much better for tangible products than for intangible ones.
For this case study, we used what's called an exploded view. It’s super common across different industries, especially for physical products with a lot of detail. If something isn’t easy to spot right away, this method helps bring it forward and makes it easier to understand what sets the product apart. It breaks the item into layers or parts to show how everything fits together, like giving your audience a behind-the-scenes look at how it’s built.
Conclusion
Whether you’re working on an intangible or tangible product, the key to a good video is understanding the product, knowing the best way to showcase it, and consistently making sure every asset and video you create meets your own standards. In other words, the key is understanding what you’re showing, why you’re showing it, and how to present it visually.
There is no one size fits all solution for every product, whether it’s intangible or tangible. Some products don’t need 3D at all, while others rely heavily on it. What matters most is choosing the right format for both the product and your audience. Just look at the case studies on this page. Even though we have our own trusted workflow, if the project calls for something different, we adapt to what works best.
If you’re ready to create a product video that’s tailored, thoughtful, and scroll-stopping, we’re here to help. Book a call with us and let’s bring your idea to life.
FAQ

Syarafina Kuswahyuni
Syarafina Kuswahyuni is a content marketer at Motion The Agency, where she covers explainer video production, motion design trends, and video marketing strategy for SaaS brands. She has worked alongside Motion's animation team on projects for clients including ClickUp, Apollo.io, and HackerRank

In just a few questions, get a tailored estimate for your next video project.

Contact Us
Ready to elevate your brand? Contact us for your
Free Custom Video Sample