How Storyboards Improve Explainer Videos
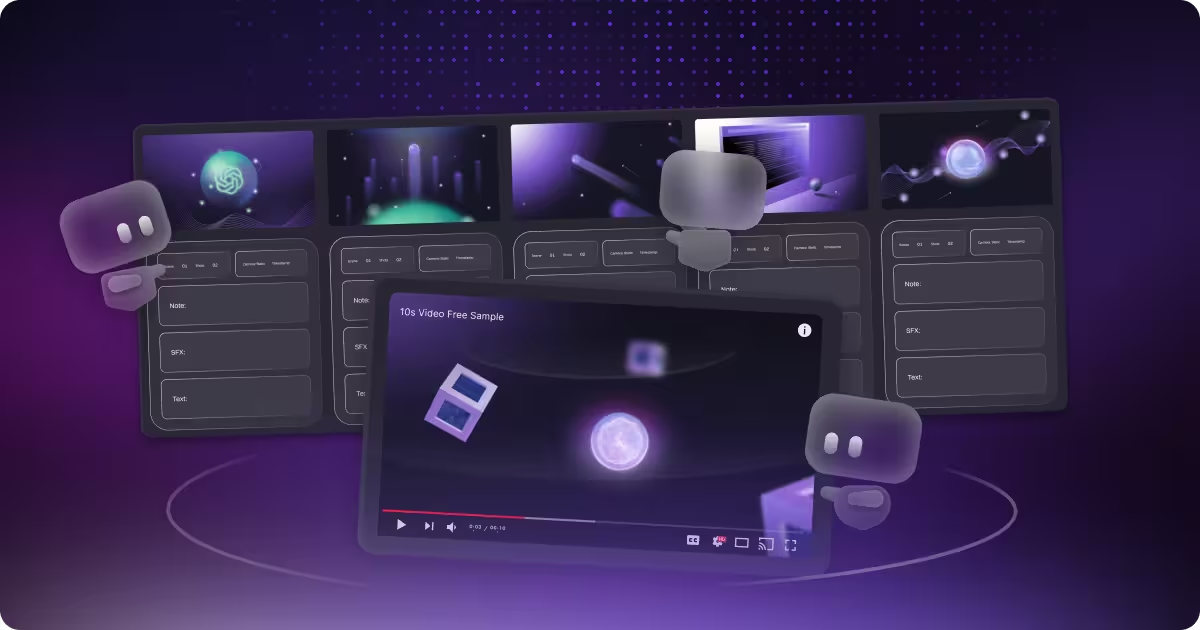
table of content
Key takeaways
- A storyboard is more than a planning tool. It’s the blueprint that keeps message, visuals, and timing aligned before production starts.
- Explainer videos need storyboards even more because they’re short, dense, and designed to reduce confusion, not add to it.
- Storyboards align founders, product, marketing, and animation teams early, reducing surprises, revisions, and approval delays.
- At Motion The Agency, storyboards are a key checkpoint for client alignment before heavy production begins.
Explainer videos and storyboard
If you’ve come across any of our content, you’ve probably heard us talk about storyboards a lot. We mention them throughout our workflow, from our production process to our pricing page. In general, you can probably infer that storyboards are a core part of the planning process for most video and animation productions.
That’s true, but it’s also more than that. Think of a storyboard as the blueprint for video production. It’s the foundation the entire project is built on.
Now, let’s talk about explainer videos and why storyboards matter even more here. Explainer videos aren’t just about visuals. They rely on clarity, persuasion, and timing. Most explainers are short, usually around 1-3 minutes, and within that time the video needs to explain the product, highlight the benefits, and land a clear CTA at the end, this is especially important for SaaS products. That means every scene has to earn its place. A storyboard is what keeps the message, pacing, and visuals aligned before animation even starts.
In this article, we’ll cover what a storyboard is, why it’s so closely tied to explainer videos, a quick guide to what should be included in a storyboard, and how our storyboard workflow works at Motion The Agency.
What is a storyboard?
Okay, let’s start with the basics. What is a storyboard? In simple terms, a storyboard is a sequence of visual panels that maps out what happens on screen, shot by shot. It’s commonly used in video and film production to plan the entire video before production begins. In our workflow, this is often referred to as an explainer video storyboard.
Built from the script, a storyboard acts as the blueprint for the entire video. It defines the overall flow and structure of the story, showing how each idea moves logically from one scene to the next. It also sets the composition and framing, making sure the viewer’s attention is directed to the right place at the right time. Beyond that, it plans the action and motion in each shot, including transitions and key moments of emphasis, while helping control pacing and timing so the video feels clear, smooth, and easy to follow. This is the core of our video storyboard process.
Granted, some videos don’t use a storyboard and still turn out great—our Hyperexponential project is one example. But in most production workflows, an explainer video storyboard is essential. It helps ground the entire process, makes decisions visible early, aligns everyone before animation starts, and reduces the risk of major revisions later, when changes become far more expensive and time-consuming. This is why a clear video storyboard process is so critical to producing high-quality, efficient video content.
Storyboard vs Moodboard
Think of an explainer video storyboard as the point where a video really starts to come to life. It maps out every shot so you can see the framing, flow, scene progression, and pacing before any animation begins. For every project, we build the storyboard directly from the script, making sure the visuals match the exact message and structure the video needs.
We don’t keep it to ourselves either. We walk the client through the explainer video storyboard, explain what each frame is doing, and get approval before moving forward. That way, everyone’s aligned early, and we avoid those classic “wait, that’s not what I meant” revisions—changes that can get expensive fast.
Moodboards, on the other hand, are all about vibe. They define how the video should feel—color palette, lighting, textures, visual references, and overall mood. It’s a way of saying, “This is the aesthetic direction we’re aiming for,” without over-explaining it.
At Motion The Agency, our usual workflow skips moodboards. We move straight from discovery and script into storyboards and style-frames. That said, some agencies rely heavily on moodboards, and occasionally clients bring one or request it upfront. When that happens, we use it as a reference to ensure the vibe is on point.
Here’s an easy way to remember it: moodboards answer “how should this feel?”, and explainer video storyboards answer “what happens, and when?” Using both locks in the vibe and structure early, which keeps the production smooth and cuts down on surprises later.
Common storyboard formats
When people talk about “a storyboard,” it usually comes in one of two formats. Neither one is “better” by default, it just depends on how you like to work and what the project needs.
- Hand-drawn storyboards: This is the classic version. Quick sketches, rough frames, and fast exploration. It’s perfect when you want to move quickly, test ideas, and focus on clarity without getting stuck making things look pretty. The point isn’t polished artwork, it’s making sure the story makes sense.
- Digital storyboards: Think of an explainer video storyboard as the point where a video starts to come to life. It maps out the framing, flow, scene progression, and pacing before any animation begins. For every project, we build the storyboard from the script, making sure visuals match the message, and we often use digital storyboards, as we discussed in our blog “What is 3D Animation.” We walk clients through it, explain each frame, and get approval early, avoiding costly revisions later.
Why storyboards matter (In general)
Okay, we touched on this a bit in the previous section, but a storyboard is basically the baseline for the whole production. It usually comes right after the initial meeting and the script, so it’s one of the first real steps where the video starts to take shape visually.
And honestly, that’s why it’s so useful. A storyboard helps you catch problems early, before they turn into painful revisions later. That matters even more in animation, because everything is built from scratch. If you change one thing late in the process, it can easily affect multiple scenes, timing, transitions, even the whole pacing.
The other big benefit is clarity. When the storyboard is locked, everyone can see the same plan. No guessing, no “I thought you meant this,” no different interpretations across the team. And if something comes up mid-production, you can quickly pinpoint which shot needs attention and what should be prioritized, instead of scrambling across the whole video.
A lot of agencies, including Motion The Agency, also treat the storyboard as a major check-in point. That’s why storyboard revisions are usually part of the process. It gives the client a clean moment to say, “Yes, this is exactly what we want,” before we move into heavier production and start investing serious time into animation.
Why storyboards matter for explainer videos (Specifically)
Now that we’ve covered why storyboards matter for video projects in general, let’s talk about our bread and butter: explainer videos and storyboards.
Before we jump in, a quick disclaimer: yes, explainer videos can still turn out great without a storyboard, and we’ve even worked on projects like that ourselves. But in most cases, having a storyboard makes the entire video-and-storyboard process smoother. It aligns expectations early, keeps production focused, and reduces the chances of major revisions later on.
Zero room for confusion
One thing’s for sure: explainer videos exist to reduce confusion for your audience. So if the video isn’t properly planned and ends up creating more confusion, it defeats the whole point.
And the tricky part is that best practice is usually to keep explainers under 3 minutes. That’s not a lot of time. In that short window, you still need to cover the pain point, the key benefit, a simple breakdown of how the product works, and a clear CTA at the end. So yeah, every second counts.
That’s why every visual has to pull its weight. If a scene isn’t helping the message, feels vague, or makes people think harder than they should, it’s better to cut it early before you waste time animating something that doesn’t move the story forward. The goal stays the same: make the product easier to understand, easier to trust, and easier to take action on.
Script-led, not visual-led
Explainer videos are script-led, not visual-led. The visuals aren’t there to look cool on their own, they’re there to support a clear narrative: problem → solution → proof → CTA. If that structure isn’t working, no amount of slick animation is going to save the message.
That’s why storyboards matter so much. They act as the translation layer between words and understanding. Instead of hoping the visuals will “figure themselves out” during production, the storyboard locks visuals to the script line by line, so every scene reinforces what’s being said. It keeps the video clear, tight, and easy to follow, especially when you’re explaining something complex in a short amount of time.
Alignment early
.png)
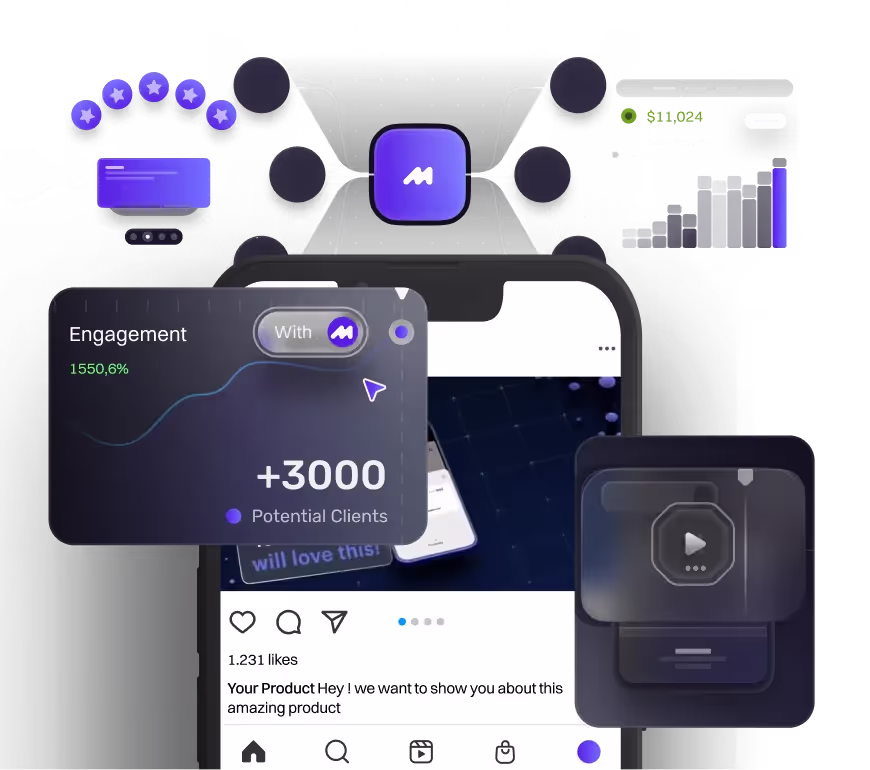
A storyboard also makes collaboration way less painful because everyone’s looking at the same plan before production even starts. Founders, product, marketing, and the animation team can all point at the same frame and go, “Yep, this is what we’re showing, this is what we’re saying, and this is how it’s going to flow.” And that matters because each group is usually focused on different things.
And the picture above is a good example of how we align with clients in this stage. Because everything is mapped out visually, clients can jump in, ask questions, and make sure every shot they need is included before we move into production. That early clarity helps prevent misunderstandings later, and it keeps the storyboard (and the final video) aligned with what the client actually wants.
When you align that early, you avoid the classic mid-project chaos. Fewer surprise moments, fewer “wait, that’s not what I expected,” and way fewer opinion wars over tiny details. Approvals also get faster because feedback becomes more specific. Instead of vague comments like “this feels off,” people can say, “This scene needs to show the benefit sooner,” or “The CTA should land harder here.” That kind of clarity saves time, saves budget, and keeps the whole process moving.
How to create a storyboard for an explainer video
Okay, let’s talk about the process of creating a storyboard. There isn’t one “right” way to do it, different agencies and teams will have their own SOPs and workflows. In this section, we’ll walk through a general approach that works well for most explainer video projects.
Lock in the script and format early
It’s important to have a clear understanding of what you want to say in the video and how you want to deliver it. If you’re using a voice actor, it’s best to lock the script and voiceover audio before you start storyboarding. That way, you know the timing down to the second, and it becomes much easier for the storyboard artist to align each scene with the pacing of the video.
Once timing is clear, you can also make smarter decisions about structure. You’ll know where the hook needs to land, how long you can spend explaining the product, and whether the CTA is getting enough space to feel intentional. This is also the stage to lock the format, like 16:9 for websites and YouTube or 9:16 for Reels and TikTok, because framing and composition can change a lot depending on where the video will live. Getting these fundamentals locked early keeps the storyboard focused, reduces back-and-forth, and makes production much smoother later on.
Align each scene with goals, audience, and brand
Each scene in the storyboard should be aligned with a clear purpose. That means knowing what action you want the viewer to take, whether it’s signing up, booking a demo, or simply understanding the product better. When every scene has a reason to exist, the video stays focused and avoids unnecessary filler.
It’s just as important to align scenes with your audience and brand. The level of explanation should match your audience’s knowledge, so you’re not over-explaining to advanced users or confusing beginners. And visually, the storyboard should reflect the brand’s tone and style from the start, so the final video feels cohesive and familiar, not random or off-brand.
Add annotations and iterate early with feedback
Annotations are what turn a storyboard from “a bunch of frames” into something production-ready. Notes around movement and transitions clarify how elements should enter, exit, or interact on screen. Emphasis cues highlight where attention should go, timing notes support pacing, and camera direction, when needed, helps communicate framing and focus. These details reduce guesswork and make sure the intent behind each scene is clear to everyone.
Just as important is iterating early and collecting feedback at this stage. Reviewing the storyboard before production begins helps catch misunderstandings while changes are still easy to make. It’s always better to adjust a frame or note in the storyboard than to fix a fully animated scene later. That saves time, budget, and a lot of back-and-forth.
How Motion The Agency does storyboards
.png)
So, when we started planning this article, we chatted with our storyboard artists to get their perspective. A few clear patterns came up, and they’re basically the things that shape how we storyboard projects at Motion The Agency. we actually talked about this a little in our blog "What is 3D animation"
Most of our clients are tech, SaaS, AI, and B2B brands, which means the goal is usually the same: move fast, stay clear, and keep everything conversion-focused. More than anything, our job is to showcase their big ideas in the simplest way possible, and that’s what we keep in mind throughout the entire process, from the first storyboard frame to the final delivery.
Another difference is our setup. We create digital storyboards in Figma. It fits our workflow because we work heavily in vectors, and Figma makes it easy to build clean frames that translate well into design and animation. It’s also a strong collaboration tool. Everyone on the team can review, comment, and iterate in one place, and it’s easy to share with clients for feedback and approvals without messy version control.
And just like the examples above, we don’t leave the storyboard as “frames only.” We annotate it with clear directions, plus simple notes and timestamps so animators can match scenes to the audio. That way, pacing and transitions don’t rely on guesswork, and the final animation lines up cleanly with the voiceover.
Approach
Our approach starts by breaking the script into clear scenes. Depending on the pacing, one line of script can become multiple shots in the storyboard to keep the flow smooth and easy to follow. We also include timing and transition cues, so it’s clear where we need to slow down, speed up, or emphasize key moments.
We work closely with our animators to make sure everything we put in the storyboard is actually achievable in production. We also avoid breaking the script down into “one word per shot.” Instead, we balance what the script needs with what the animation needs, so the pacing feels right, transitions stay smooth, and the audience doesn’t get overwhelmed.

From there, we start adding the extra direction that makes the storyboard actually usable in production. That includes camera direction and framing notes when needed, plus simple directional cues like labels, arrows, and short descriptors. The goal is to remove guesswork for the animation team, so they’re not left interpreting what a scene “might” mean. If a shot needs to feel a certain way, move in a certain direction, or highlight a specific detail, it’s all clearly called out.
.png)
We'll also drop in reference links directly inside the storyboard whenever a scene needs extra inspiration or accuracy, especially for product details, UI behaviors, or specific visual styles. And lastly, we plan color coordination early, particularly when a project involves 2D, 3D animation for explainer videos (like the example above), or mixed media. This helps everything feel like it belongs in the same world once the video comes to life, instead of looking like separate pieces stitched together.
Most of our clients are tech, SaaS, AI, and B2B brands and the storyboard process is always the foundation. If you want to see how this comes together end to end, explore our professional explainer video services.
FAQ

Syarafina Kuswahyuni
Syarafina Kuswahyuni is a content marketer at Motion The Agency, where she covers explainer video production, motion design trends, and video marketing strategy for SaaS brands. She has worked alongside Motion's animation team on projects for clients including ClickUp, Apollo.io, and HackerRank


Silvira
Silvira is a graphic designer and Motion The Agency storyboard artist, specializing in illustration, branding, and visual identity design.
In just a few questions, get a tailored estimate for your next video project.


.avif)


Contact Us
Ready to elevate your brand? Contact us for your
Free Custom Video Sample